Crane Cam: Rising up in "No Fly Zones"
- CK Chan

- Mar 6, 2019
- 3 min read
Updated: Mar 12, 2019
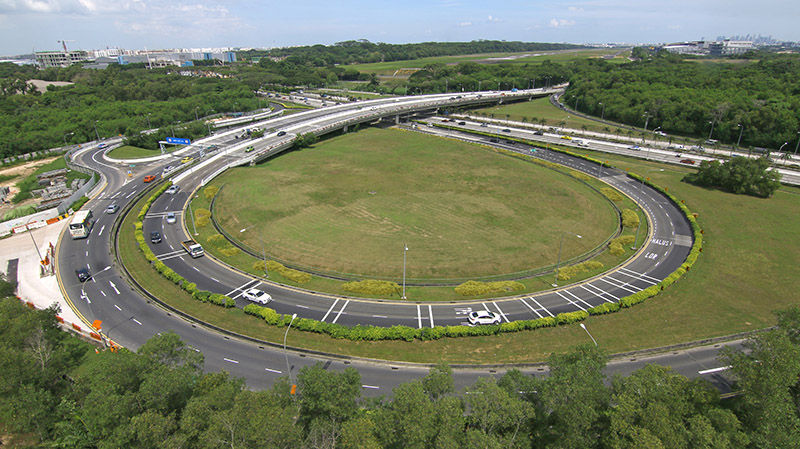
The genesis of the Crane Cam came a result of the UAV no-fly rules sanctioned by the Civil Aviation Authority of Singapore (or CAAS) within 5-kilometres of all aerodromes in Singapore.
Despite the existence of this law, there are no shortage of construction and development projects where aerial photography is needed to document progress, and for communication purposes. Faced with this conundrum, our team set out to invent a solution to satisfy all parties. The solution is Crane Cam.
The Crane Cam is a 3-axis remote-controlled motorized gimbal designed to fit around a mid-sized DSLR. The motors are powered by individual lithium batteries and controlled from the ground via a radio controller, while shuttering of the camera is done via a wireless transmitter. The entire rig is then locked onto a metal bracket via a base plate and mount configuration, which is then secured onto the hook of an industrial lifting crane.

Operations
Operation of the Crane Cam should ideally be carried out by a 2-man crew. One controls the gimbal while the other triggers the shutter and directs the gimbal controller through the monitor.
Camera and lens
We suggest using bodies with smaller sensors in order to reduce strain on the gimbal structure. In our case, we use the 70D, an APS-C body at 755g that pumps out respectable 20-megapixel images, allowing our clients to zoom into details wherever needed. You may also consider mirrorless Micro Four-Thirds bodies like the GH4 or E-M10 -Mark II.
In terms of the lens, we recommend using one that gives you a 16mm full-frame equivalent or close. The reason – most Crane Cam applications are in open locations where a wide FOV is required to capture a large area of activity in deep focus. Here we use the Canon EF-S 10-22mm f/3.5-4.5 USM, an affordable lens option that manages to achieve exactly what we want while still offering the option of zooming in. Top it off by minimizing the impact of contrasting outdoor exposures with filters. Depending on the location, UV filters, polarizers or Grad NDs may be required.

DJI Lightbridge
The Lightbridge is the tool that allows us to wirelessly connect our LCD monitor on the ground to the LCD screen of the camera, which by then will be at least 15 metres off the ground. This is extremely important as without the monitor we would not be able to check for focus nor frame the shot properly.

Pocket Wizard Transceiver/Receiver
A set of pocket wizards allow us to trigger the camera shutter remotely from the ground. Make sure to do a test shot on the ground before raising the crane as you will be wasting valuable time by lowering it again. If you have a set of 3 you may configure one of them into RP mode to amplify your TX signal.
Crane Cam – an alternative to drones.
For most construction projects, using an available mobile industrial crane to carry the light weight crane cam to 30 meters and above is a non-issue. However, please note that there is a height limit for crane operations near aerodromes. Find out from the crane operator before the shoot. For restricted urban conditions and drone no-fly zones, the Crane Cam, is a lightweight and versatile alternative for aerial photography. Next stop, we will be modifying the Crane Cam for aerial video shots. Stay tuned.
Find out more about Skyshot and the services we provide like aerial filming and time-lapse video production. Contact us if you have any filming hacks to share.


Comments